If you've ever worked on more than one Node.js project at the same time, you've probably run into the version problem. Project A needs Node 16. Project B needs Node 20. You install one, the other breaks. You spend an hour fixing it instead of actually writing code.
NVM — Node Version Manager — solves this completely. It lets you install multiple versions of Node.js on the same machine and switch between them in a single command. No conflicts, no reinstalling, no wasted time.
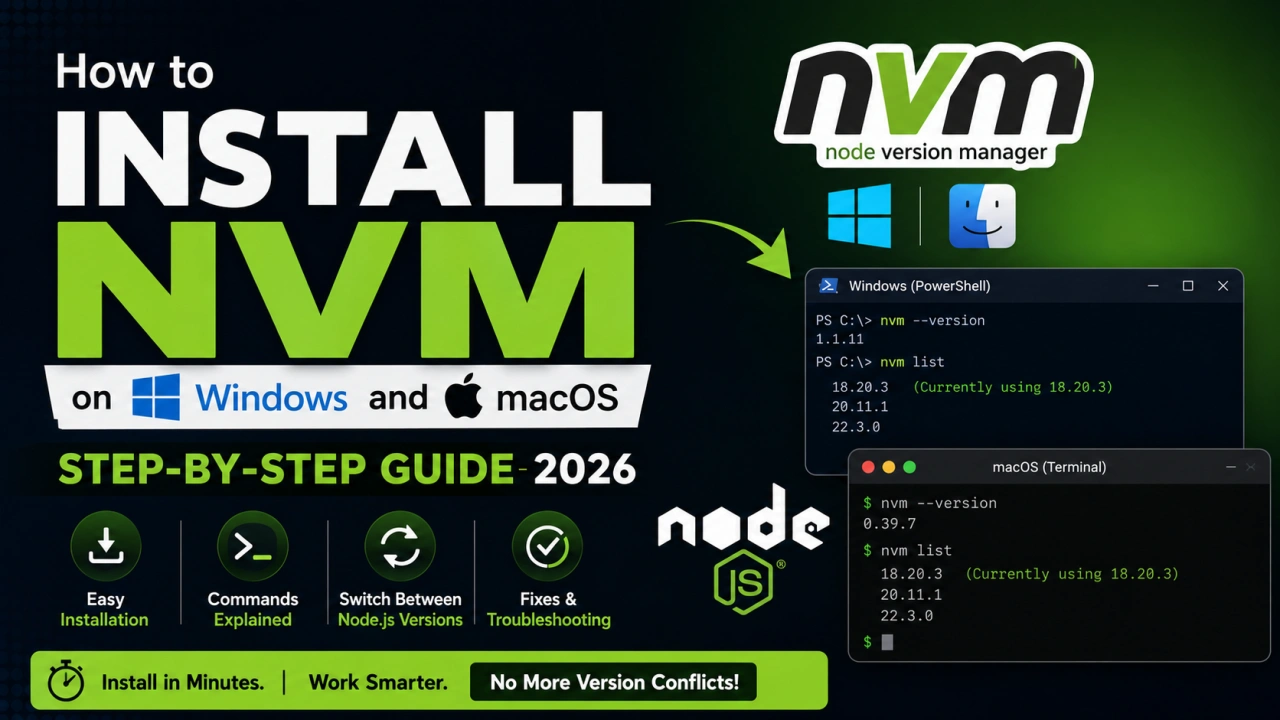
This guide walks you through installing NVM on both Windows and macOS, step by step, with the exact commands you need to run.
What Is NVM and Why Do You Need It?
NVM stands for Node Version Manager. It's a command-line tool that lets you:
- Install any version of Node.js alongside existing versions
- Switch between Node.js versions instantly with one command
- Set a default Node.js version for new terminal sessions
- Test your code across multiple Node.js environments
- Avoid the "it works on my machine" problem when collaborating with other developers
Without NVM, changing your Node.js version means uninstalling the current version and reinstalling a new one — a process that often breaks globally installed packages and wastes significant time.
With NVM, switching from Node 18 to Node 20 takes about three seconds.
Important Note Before You Start
The original NVM tool was built for Linux and macOS only. Windows requires a separate tool called nvm-windows, created by Corey Butler. It works similarly but is a different project.
This guide covers:
- nvm-windows — for Windows 10 and Windows 11
- nvm — for macOS (via the official install script)
Part 1: How to Install NVM on Windows
Step 1 — Uninstall Any Existing Node.js Installation
If you already have Node.js installed on your Windows machine, remove it first. Having an existing Node.js installation can cause conflicts with nvm-windows.
Go to Settings → Apps → Installed Apps, search for Node.js, and uninstall it. Also delete these folders if they exist:
C:\Program Files\nodejs
C:\Users\YourUsername\AppData\Roaming\npm
C:\Users\YourUsername\AppData\Roaming\npm-cache
Step 2 — Download nvm-windows
- Go to the official nvm-windows GitHub releases page: github.com/coreybutler/nvm-windows/releases
- Find the latest release (currently 1.1.12 as of 2025)
- Under the Assets section, download nvm-setup.exe
Always download from the official GitHub page. Avoid third-party download sites.
Step 3 — Run the Installer
- Double-click the nvm-setup.exe file you downloaded
- Click Yes when Windows asks for administrator permission
- Accept the license agreement and click Next
- Choose your NVM installation path — the default
C:\Users\YourUsername\AppData\Roaming\nvmis fine for most users - Choose your Node.js symlink path — the default
C:\Program Files\nodejsis recommended - Click Install and wait for it to finish
- Click Finish
Step 4 — Verify the Installation
Open a new Command Prompt or PowerShell window (important — existing windows won't see the updated PATH) and run:
nvm -v
You should see a version number like:
1.1.12
If you see 'nvm' is not recognized as an internal or external command, close all terminal windows and reopen them. If the problem continues, restart your computer.
Step 5 — Install Node.js Using NVM
Now install the version of Node.js you need. To install the latest stable version:
nvm install latest
To install the latest LTS (Long Term Support) version — recommended for most projects:
nvm install lts
To install a specific version:
nvm install 20.11.0
Step 6 — Switch to Your Installed Version
Installing a version doesn't automatically activate it. Run this to use it:
nvm use 20.11.0
Then verify Node.js is working:
node -v
npm -v
You should see the version numbers for both Node.js and NPM.
Step 7 — Manage Multiple Versions on Windows
Install as many versions as you need:
nvm install 18.20.0
nvm install 16.20.0
See all installed versions:
nvm list
Output will look like:
  * 20.11.0 (Currently using 64-bit executable)
    18.20.0
    16.20.0
Switch between them any time:
nvm use 18.20.0
Uninstall a version you no longer need:
nvm uninstall 16.20.0
Part 2: How to Install NVM on macOS
Step 1 — Open Terminal
Open the Terminal app on your Mac. You can find it in Applications → Utilities → Terminal, or press Command + Space and type "Terminal".
Step 2 — Install NVM Using the Official Script
Run this command in your Terminal:
curl -o- https://raw.githubusercontent.com/nvm-sh/nvm/v0.39.7/install.sh | bash
This downloads and runs the official NVM install script. It will:
- Download NVM to
~/.nvmon your machine - Add the NVM configuration to your shell profile automatically
Note: Always check the official NVM GitHub page (github.com/nvm-sh/nvm) for the latest version number to replace
v0.39.7if needed.
Step 3 — Update Your Shell Configuration
After the script runs, it will add lines to your shell profile file. Close your Terminal and reopen it, or run:
If you use zsh (default on macOS Monterey and later):
source ~/.zshrc
If you use bash:
source ~/.bash_profile
Step 4 — Verify the Installation
Run:
nvm --version
You should see something like:
0.39.7
If you see command not found: nvm, your shell profile wasn't updated correctly. Open ~/.zshrc in a text editor and manually add these lines at the bottom:
export NVM_DIR="$HOME/.nvm"
[ -s "$NVM_DIR/nvm.sh" ] && \. "$NVM_DIR/nvm.sh"
[ -s "$NVM_DIR/bash_completion" ] && \. "$NVM_DIR/bash_completion"
Save the file and run source ~/.zshrc again.
Step 5 — Install Node.js on macOS
Install the LTS version:
nvm install --lts
Or a specific version:
nvm install 20.11.0
Step 6 — Use and Switch Between Versions
Activate a version:
nvm use 20.11.0
Check it's working:
node -v
npm -v
Set a default version that activates automatically every time you open a new terminal:
nvm alias default 20.11.0
List all installed versions:
nvm ls
Most Useful NVM Commands (Windows and macOS)
| Command | What It Does |
|---|---|
nvm install 20.11.0 |
Install a specific Node.js version |
nvm install lts |
Install the latest LTS version |
nvm use 20.11.0 |
Switch to a specific version |
nvm list or nvm ls |
Show all installed versions |
nvm uninstall 16.20.0 |
Remove a version |
nvm alias default 20 |
Set default version (macOS) |
nvm current |
Show the currently active version |
node -v |
Confirm active Node.js version |
npm -v |
Confirm active NPM version |
Common Problems and Fixes
Problem: nvm command not found after installation (Windows) Fix: Close all open terminal windows completely and reopen. If still not working, restart your PC. NVM needs your system PATH to be refreshed.
Problem: nvm command not found after installation (macOS) Fix: Run source ~/.zshrc (or source ~/.bash_profile if using bash). If still failing, manually add the NVM lines to your shell profile as shown in Step 4 above.
Problem: nvm use works but node -v shows wrong version (Windows) Fix: Make sure you're running Command Prompt or PowerShell as Administrator. Some versions of nvm-windows require admin privileges to change the active Node.js symlink.
Problem: Globally installed npm packages disappear after switching versions This is expected behaviour. Each Node.js version managed by NVM has its own isolated set of global packages. You'll need to reinstall global packages (like npm install -g typescript) after switching to a version for the first time.
Problem: Installation script fails on macOS with SSL error Fix: Make sure you have curl installed. Run brew install curl if you have Homebrew, then try the install script again.
Why Use LTS Versions for Most Projects?
When installing Node.js, you'll see two main options — the Current release and the LTS (Long Term Support) release.
- Current has the latest features but may have bugs and receives updates for only 6 months
- LTS is the stable, battle-tested version that receives security updates for 3 years
For production applications, client work, or any project that needs to stay reliable over time, always use the LTS version. The Current version is better suited for experiments or when you specifically need a very new feature.
Setting Up NVM for a Specific Project
One of the most useful but underused NVM features is the .nvmrc file. You can place a file called .nvmrc in the root of any project folder containing just the Node.js version that project needs:
20.11.0
Then anyone working on that project — or you, six months later — can just run:
nvm use
NVM reads the .nvmrc file and switches to the correct version automatically. No need to remember which version each project needs. This is particularly valuable when working in teams or managing multiple client projects simultaneously.
Final Thoughts
NVM is one of those tools that seems like a small quality-of-life improvement until you've used it — and then you can't imagine working without it. Version conflicts, broken projects, and the hour-long debugging sessions that come with them become a thing of the past.
Install it once, set your default version, add .nvmrc files to your projects, and version management becomes something you never have to think about again.
If you found this guide useful, check out our other developer tools tutorials for more step-by-step guides on setting up a clean, productive development environment.
The Editorial Team
We are a collective of tech enthusiasts and digital experts dedicated to making sense of the evolving digital landscape for our global audience.
Connect With Us

0 Perspectives