
Introduction
Running out of cloud storage is a problem every digital user faces. Whether you are a businessman wanting secure file storage or a developer wanting additional space to fit in more projects, Amazon Simple Storage Service is a great resource. It is a powerful, reliable, scalable, and secure storage solution for entrepreneurial and personal use alike. This guide will show you how to create a public S3 bucket - Amazon S3. Amazon S3’s efficient bucket feature is an incredible tool that allows you to store, analyse. and share data, host static websites, keep a backup of your data, and distribute content effortlessly.
So, are you ready to unlock this valuable function? Follow along the simple procedures from this guide to access and make the most of this versatile tool.
In this article you will see how to create a S3 bucket in AWS (Amazon web services).
What is the Amazon S3 bucket?
An Amazon S3 bucket is a type of cloud storage available in Amazon web services.In this storage we use object-based methods to store data rather than storing in files. Each object has a key or key name.
Let's start with Step by step to create a bucket:
Step 1: Login to your aws account and in the search bar type S3 ad you will see S3 Scalable storage in the cloud click on it.

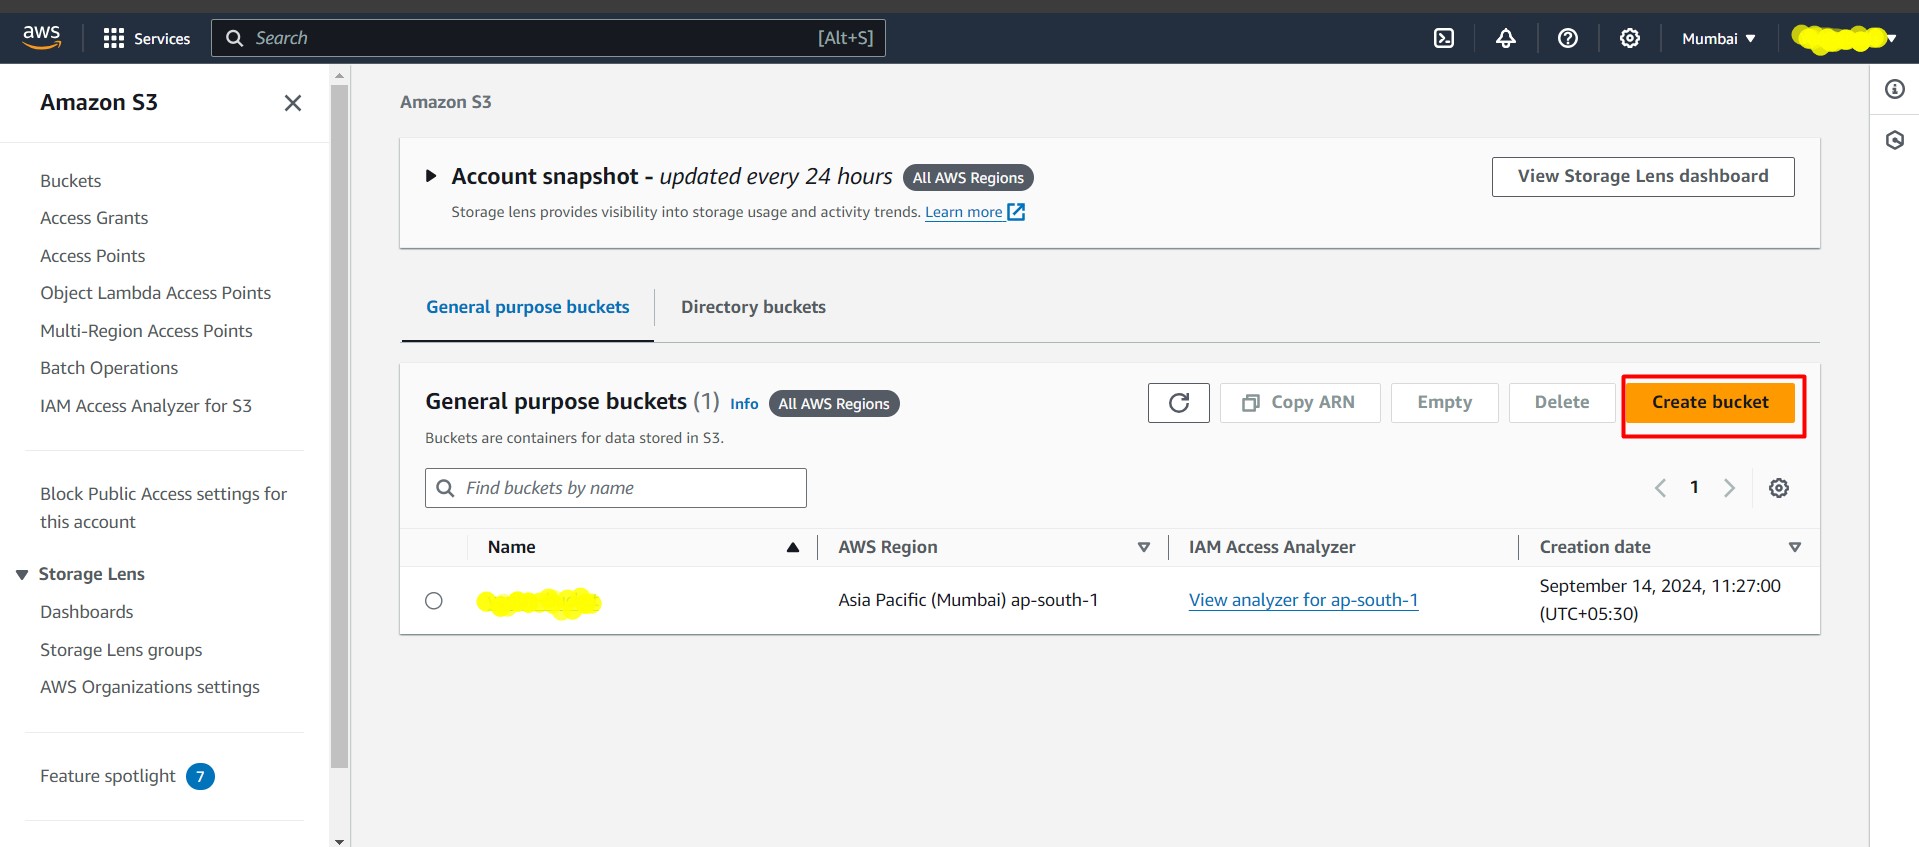
Step 2: Now you will see a button called create bucket click on it.
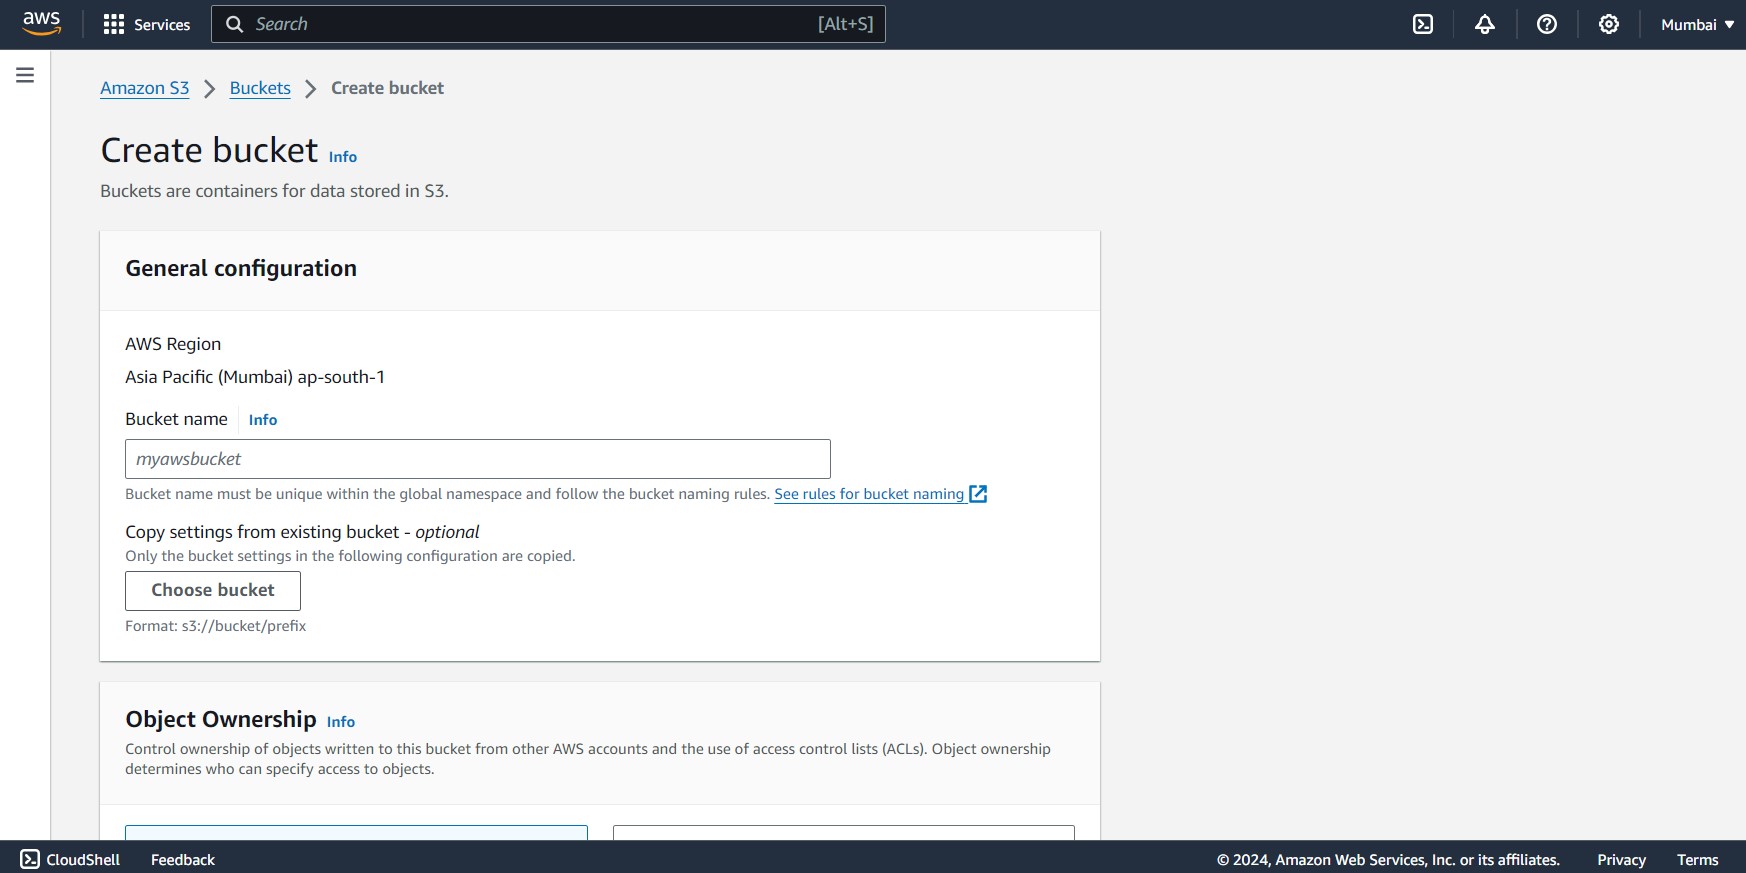
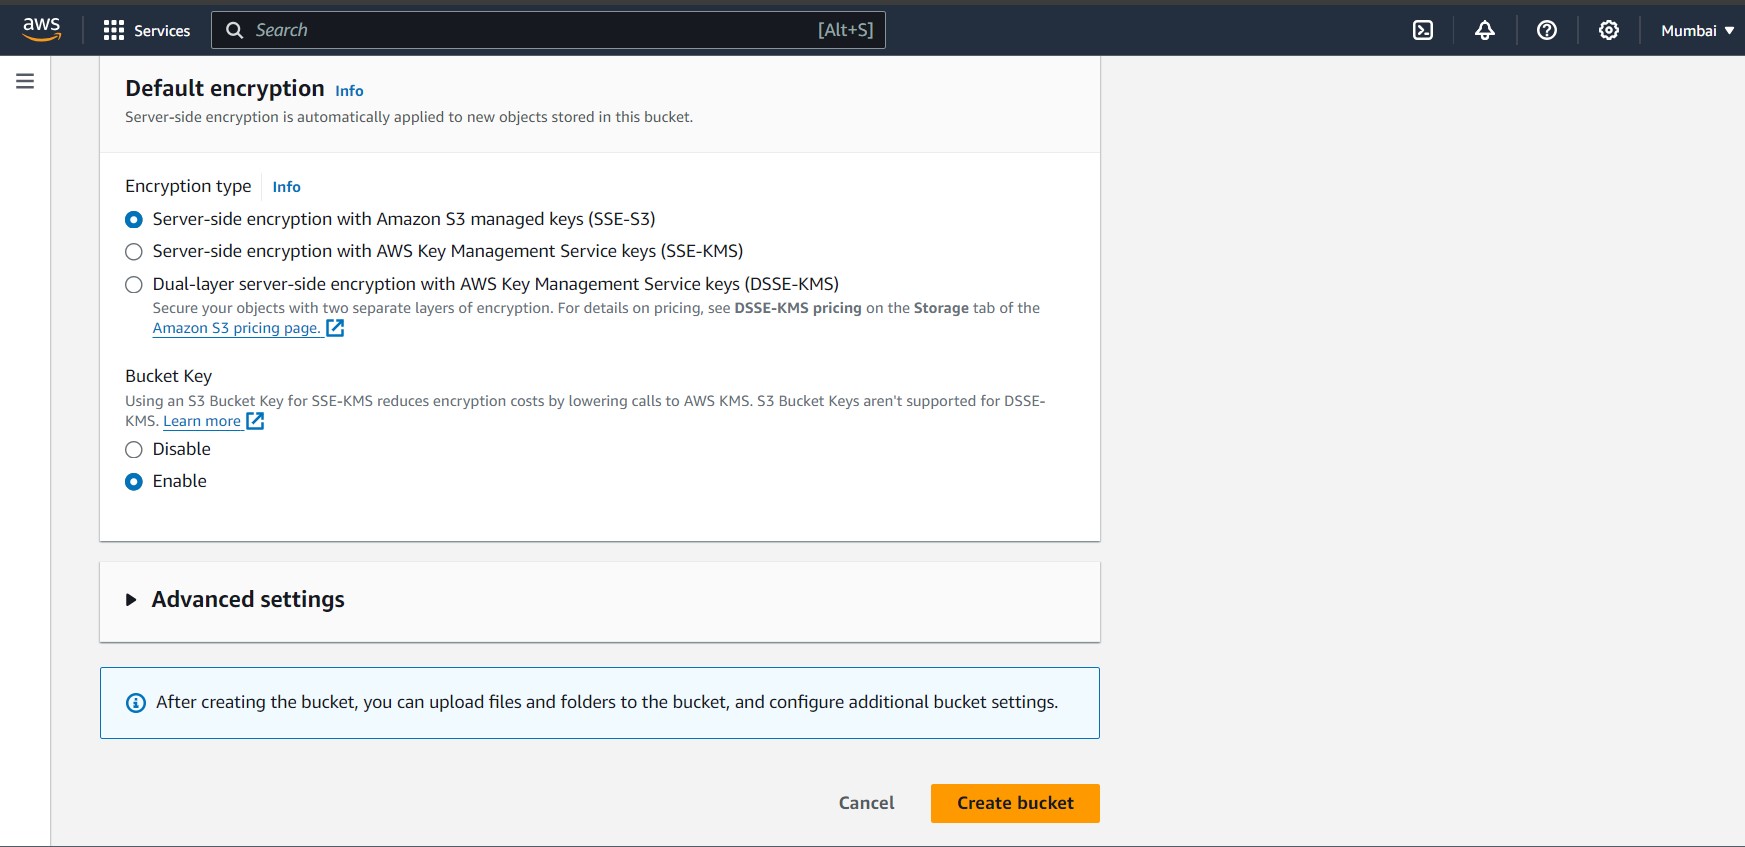
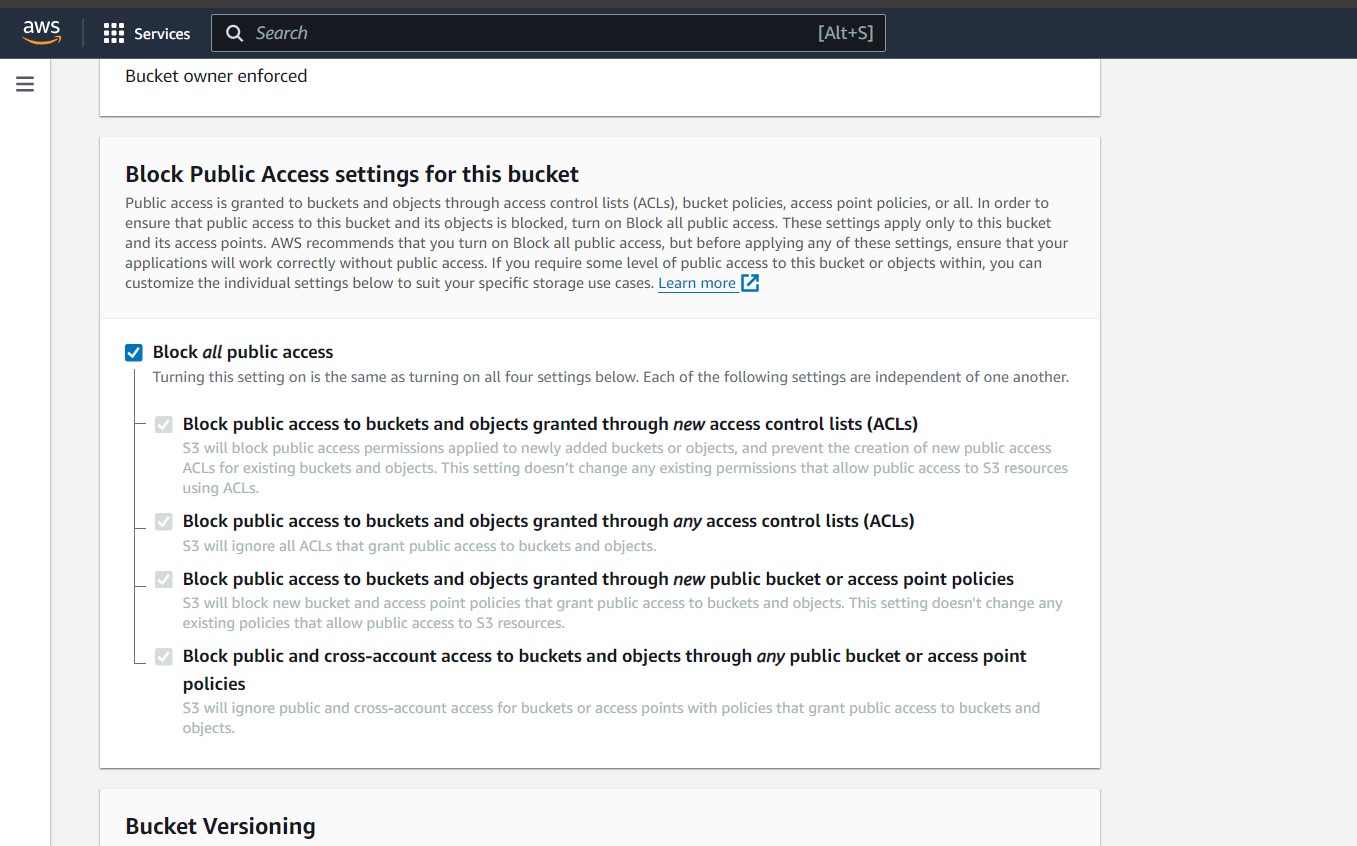
Step 3: Now Enter your bucket name and scroll down and then you will see an option Block all public access. Uncheck if you want to access your files publicly unless it should be checked. After that click on create bucket.
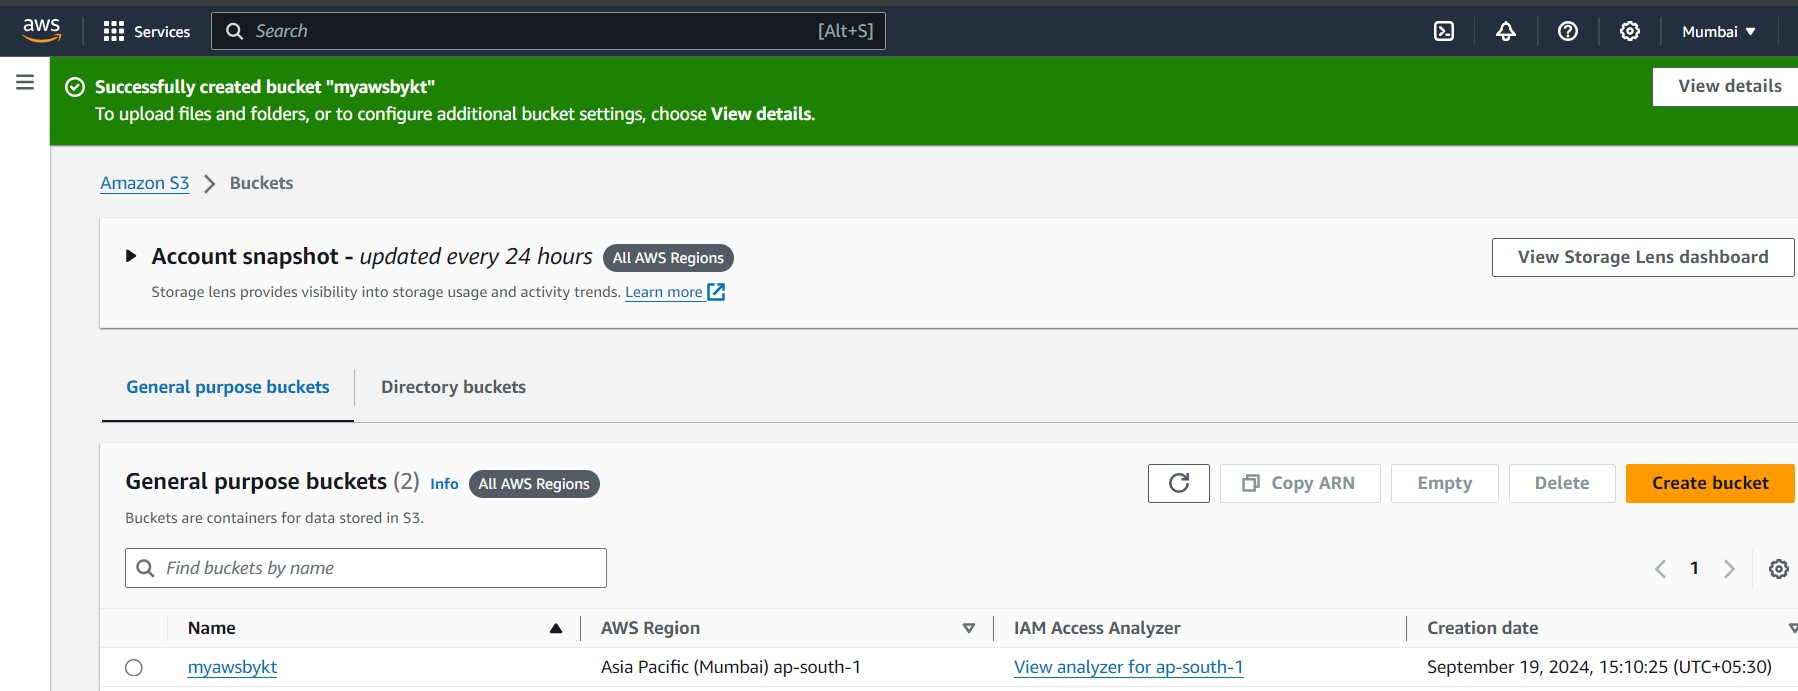
Step 4: After that if you want to access files in storage first you have to give the permission for public access. Click on your bucket then click on the Permission tab .
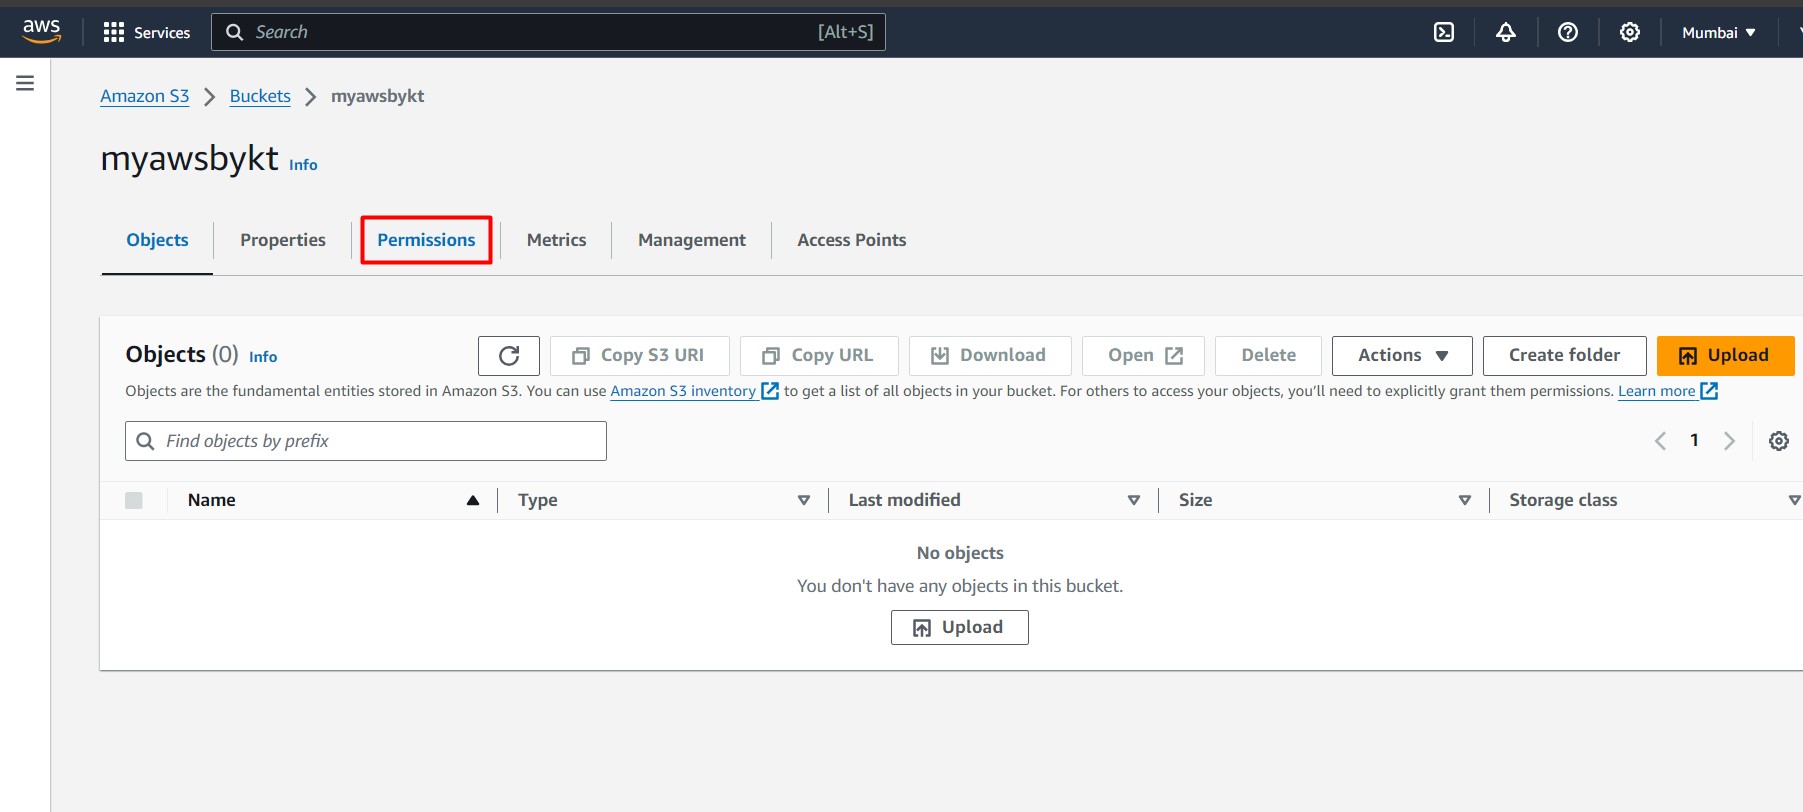
Step 5: Click on Edit bucket policy.
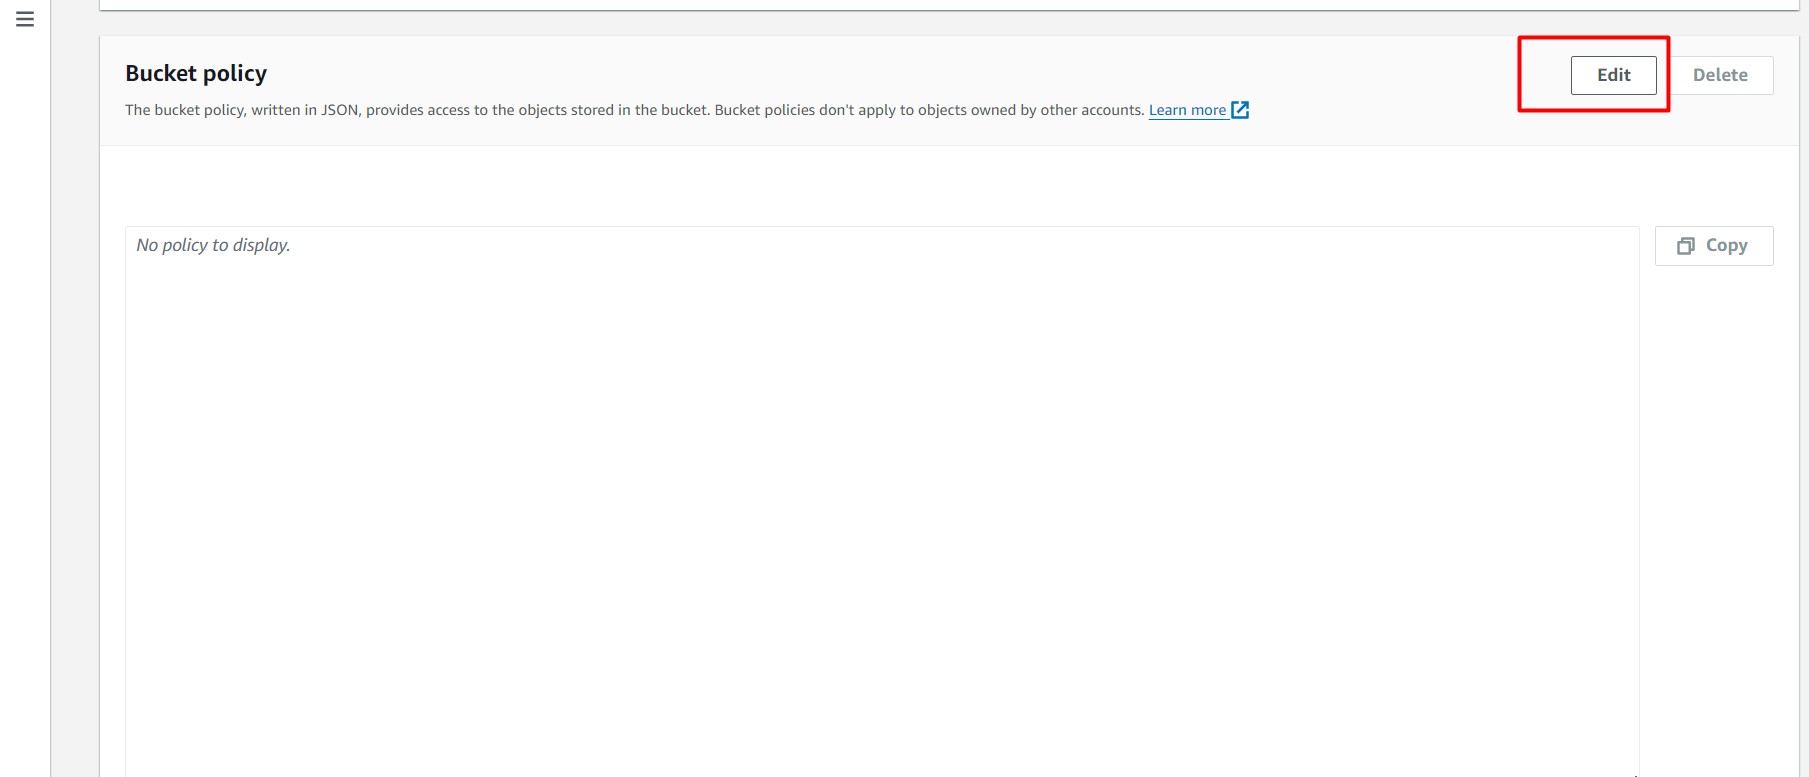
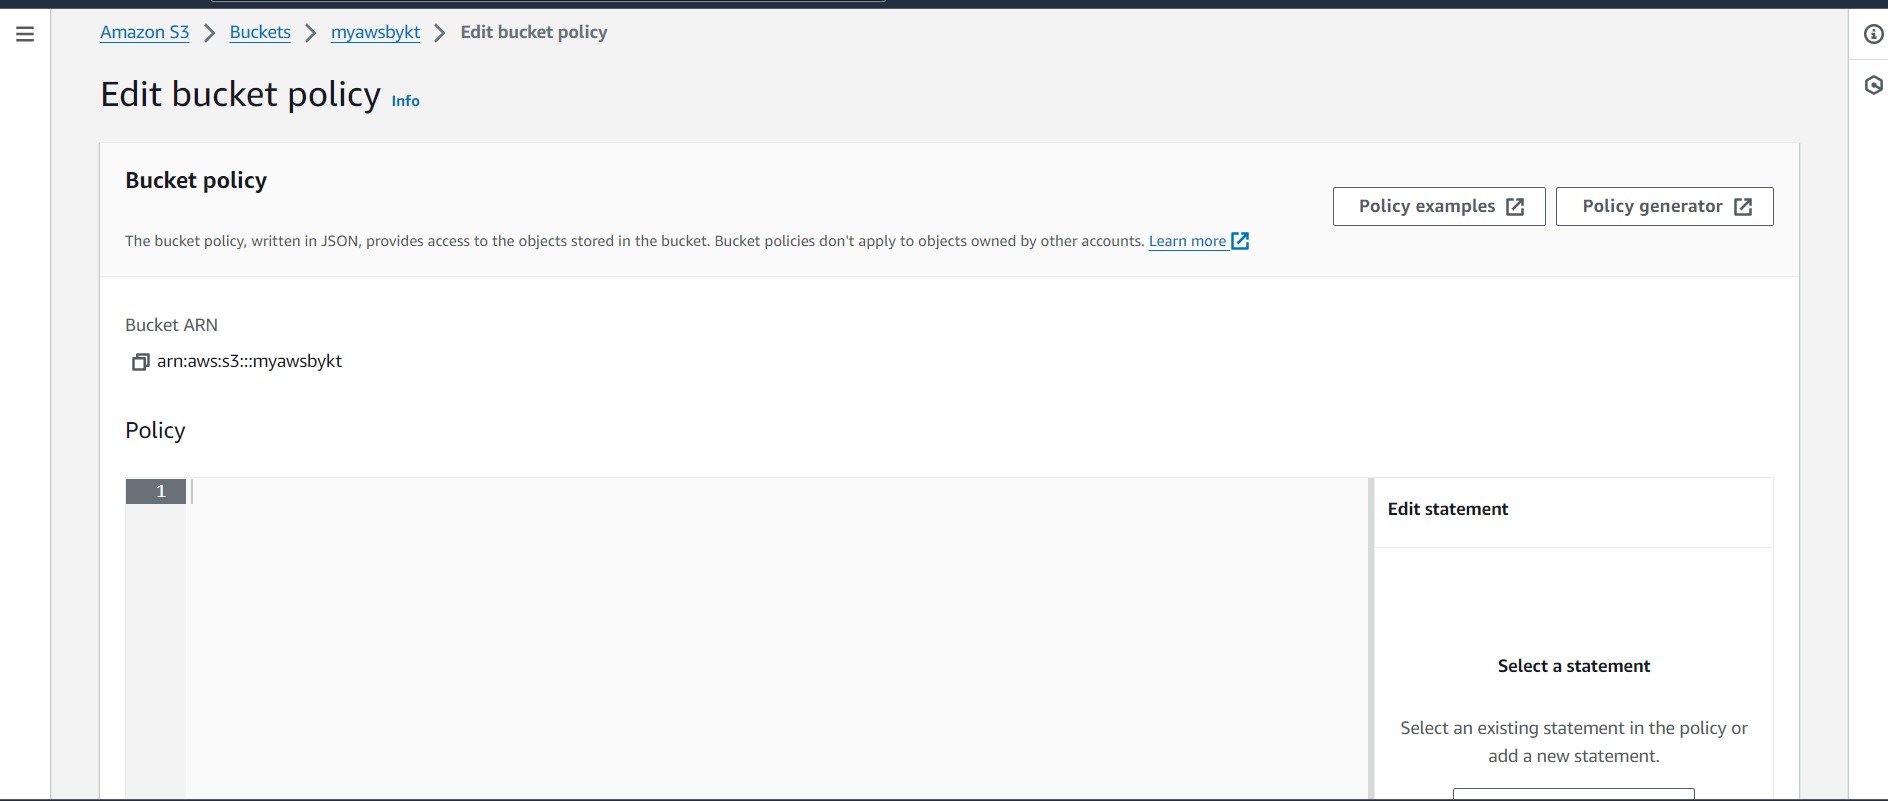
Step 6: Copy this json and paste to the policy box and make sure to change the bucket name in the json then click on save changes.
{
"Version": "2012-10-17",
"Statement": [
{
"Sid": "PublicReadGetObject",
"Effect": "Allow",
"Principal": "*",
"Action": "s3:GetObject",
"Resource": "arn:aws:s3:::bucket-name/*"
}
]
}
Step 7: You can access files with https://bucket-name.s3.ap-south-1.amazonaws.com/folder-or-file-name. You will get this link when you click on files which are stored in s3 bucket. you will see an object url which is the live link of that file,image or any file.
By following these steps you have created a s3 bucket which is publicly accessible. Now you can upload the files in the storage and can access the files publicly means you can share with anyone with that live link. If you have any questions about this you can contact from the contact page. If you want to learn deep in the S3 bucket you can go through this link. https://docs.aws.amazon.com/s3/
Conclusion
Amazon S3 buckets are the best solution for organizing your innumerable scattered projects. This function is highly flexible and can be used for a wide range of purposes. Create your own public S3 bucket by taking the help of this comprehensive step-by-step guide and unlock the potential of Amazon S3.
