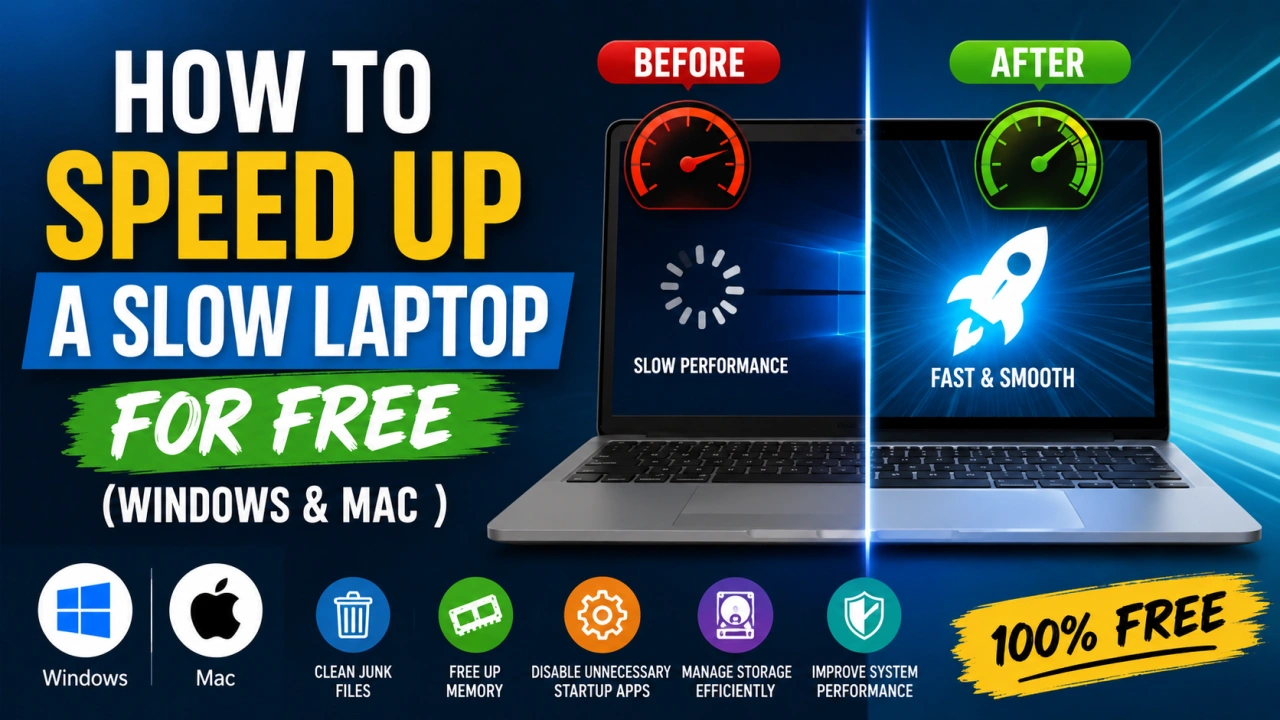
There is a moment every laptop owner knows. The one where you click something and wait. And wait. And stare at a spinning circle while wondering whether it's time to buy a new machine.
Here's the thing — in most cases, it isn't. A slow laptop is almost never a hardware problem requiring a replacement. It's almost always a software problem that can be solved for free in under an hour, with no technical knowledge required.
This guide covers both Windows 11 and macOS. Work through the steps relevant to your machine and you'll notice a real difference.
Step 1: Restart Your Laptop (Properly)
This sounds too obvious to mention. But a huge number of people never fully shut down their laptop — they just close the lid. Over days and weeks, memory fills up with background processes, temporary files, and open applications.
A proper restart — not sleep, not hibernate — clears all of that. On Windows, click Start, then Power, then Restart (not Shut Down, which on some machines doesn't fully reset memory). On Mac, click the Apple icon and select Restart.
Do this once a week and you'll immediately notice an improvement in how quickly your machine feels.
Step 2: Disable Startup Programs (Windows)
Every time your Windows laptop boots up, a long list of programs tries to launch themselves in the background — Spotify, Teams, OneDrive, Discord, and dozens more. Most of them don't need to start automatically.
Fix it: Right-click the taskbar and open Task Manager. Click the Startup tab. Right-click any program you don't need launching at startup and select Disable. Don't disable anything system-related you don't recognise — just the applications you can clearly identify.
Step 3: Manage Login Items (Mac)
The Mac equivalent. Go to System Settings, then General, then Login Items. Remove anything from the "Open at Login" list that you don't genuinely need running immediately when your Mac starts.
Step 4: Free Up Storage Space
When a laptop's storage drive is more than 80 to 85 percent full, performance drops noticeably. The operating system needs free space to operate efficiently, create temporary files, and manage memory.
On Windows: Open Settings, go to System, then Storage. Turn on Storage Sense, which automatically cleans up temporary files. Also manually empty the Recycle Bin and clear your Downloads folder of anything you no longer need.
On Mac: Click the Apple icon, About This Mac, then Storage, then Manage. Use the recommendations to remove large files, clear the bin, and identify storage-hungry applications.
Step 5: Uninstall Software You Never Use
Most laptops come loaded with software you didn't ask for and will never use — especially Windows machines. Every unused program can consume background resources even when you're not actively using it.
On Windows: Go to Settings, Apps, then Installed Apps. Sort by size to find the biggest offenders. Uninstall anything you genuinely don't use.
On Mac: Open Finder, go to Applications, and drag unused apps to the Trash. Then empty the Trash.
Step 6: Check What's Using Your RAM Right Now
Sometimes a single misbehaving application is responsible for everything feeling slow.
On Windows: Open Task Manager (Ctrl + Shift + Esc) and click the Processes tab. Sort by Memory or CPU. If one application is using an unusually high percentage, close it and see if performance improves.
On Mac: Open Activity Monitor (search for it in Spotlight). Check the Memory and CPU tabs for anything consuming unusual resources.
Step 7: Reduce Visual Effects (Windows)
Windows 11 runs a lot of animations and transparency effects by default. These look nice but consume processing power — especially on older machines.
Fix it: Search for "Adjust the appearance and performance of Windows" in the Start menu. Select "Adjust for best performance" to turn off all visual effects, or manually uncheck the ones you're willing to live without.
Step 8: Run a Malware Scan
Malware and adware running in the background can silently consume enormous amounts of processing power, causing a dramatic slowdown without any obvious warning signs.
On Windows: Windows Defender (built in, free) is genuinely effective. Open Windows Security and run a Full Scan. On Mac, Malwarebytes offers a free scan that covers the most common threats.
Step 9: Update Your Operating System and Drivers
Running an outdated operating system or outdated drivers can cause compatibility issues and inefficiencies that slow everything down.
On Windows: Go to Settings, Windows Update, and check for updates. On Mac: Go to System Settings, General, then Software Update. Keep your machine current — these updates often contain performance improvements, not just security patches.
Step 10: Check Your Browser
If your laptop feels fine except when using the internet, the problem is almost certainly your browser, not your laptop.
Too many open tabs is the main culprit — each one consumes RAM. Aim to keep fewer than 10 tabs open at once. Check your browser extensions and disable any you don't actively use. Clear your browser cache and cookies once a month.
If you're using Chrome and it feels heavy, try switching to Firefox or Microsoft Edge, both of which use noticeably less memory on older machines.
Step 11: Consider a RAM or SSD Upgrade (Only If Everything Else Fails)
If you've tried everything above and your machine still feels painfully slow, it may genuinely be a hardware limitation. For laptops older than five or six years, two upgrades make a dramatic difference: adding more RAM, or replacing a traditional hard drive (HDD) with a solid-state drive (SSD).
An SSD upgrade in particular is transformational — it can make a seven-year-old laptop feel like a completely different machine. A basic 500GB SSD costs between £40 and $60 and can usually be installed at a local repair shop for a modest fee.
Final Thought
Before spending £500 or $600 on a new laptop, spend 45 minutes on these steps. In the majority of cases, that's all it takes to get a noticeably faster machine — at absolutely no cost.
The Editorial Team
We are a collective of tech enthusiasts and digital experts dedicated to making sense of the evolving digital landscape for our global audience.
Connect With Us
0 Perspectives